If you’re seeing warnings or errors when visiting your website, you’re not alone – and it’s a common issue that’s easy to fix. Modern web browsers like Google Chrome, Safari, Firefox, and others protect users by alerting them when a website isn’t fully secure. These alerts help prevent data theft, phishing, and other security risks.
What Are These Warnings?
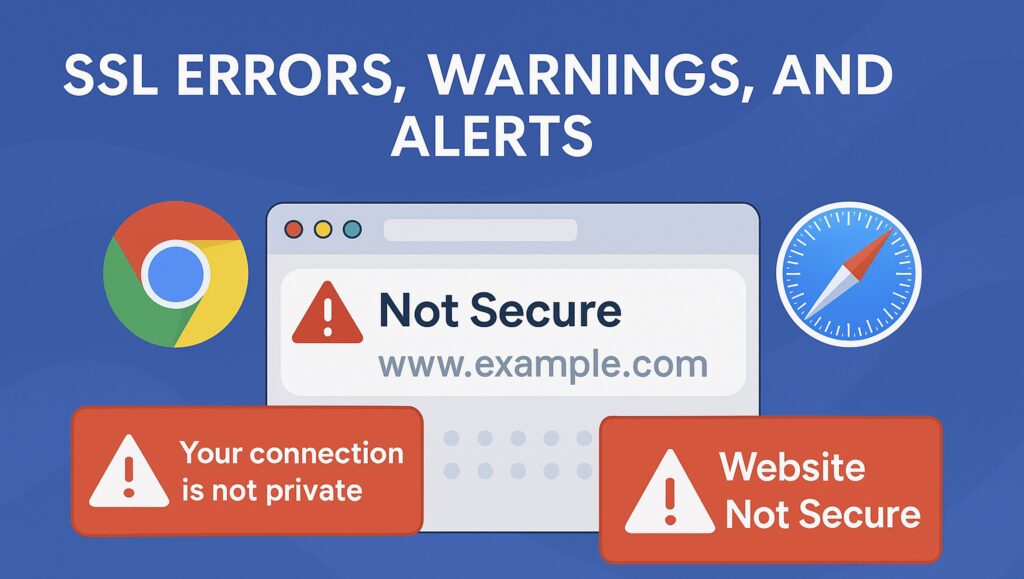
When your website does not have SSL (Secure Sockets Layer) enabled meaning your site is not served over HTTPS. Browsers will warn visitors that your site is “Not Secure.” Here’s what that means and how it looks on popular browsers:
Google Chrome:Shows a “Not Secure” label in the address bar and warns visitors that their connection isn’t safe. On pages where visitors enter information (like contact forms), Chrome may even block submissions.
Safari:Displays “Not Secure” next to your URL and may show pop-up warnings telling users your website is not secure. In some cases, Safari may block access to the site altogether.
Firefox:Shows a red warning padlock icon and alerts users to potential security risks with your site’s certificate.
These warnings can confuse and alarm visitors, causing them to leave your site — losing you potential customers or leads.
Why Do These Warnings Appear?
Browsers require websites to use HTTPS – a secure version of HTTP – which encrypts the data between visitors and your site. Without HTTPS, information like passwords, contact details, or payment data can be intercepted by hackers.
If your website lacks SSL, the browser flags this as a security risk and alerts your visitors to protect them.
How To Fix This Issue – Add Domain SSL
The good news: you can resolve these warnings immediately by adding SSL to your domain.
Our Domain SSL service secures your website with HTTPS, ensuring that all communication between your visitors and your site is encrypted and safe.
Benefits of Adding Domain SSL:
Removes “Not Secure” warnings from browsers
Protects your visitors’ personal data and information
Improves your search engine rankings (SEO boost)
Builds trust and credibility with your customers
Complies with browser security standards
How to Get Domain SSL
Adding Domain SSL is easy and affordable. Simply enable the Domain SSL option on your account, and we will handle the installation and setup for you. Once activated, your site will immediately use HTTPS, and all browser warnings will disappear.
Adding Domain SSL is easy and affordable. Simply:
Login to your Client Area on our website.
Navigate to My Domains.
Select the domain name you want to secure.
Scroll down to the “Secure Your Website” section.
Click the “Secure My Website” button and follow the instructions.
Once activated, your site will immediately use HTTPS, removing all browser security warnings and keeping your visitors’ data safe.
If you need assistance or have questions about SSL, our support team is ready to help you every step of the way.
Don’t Lose Visitors to Security Warnings
Secure your website today by adding Domain SSL – protect your business and give your visitors confidence that your site is safe to browse and use.
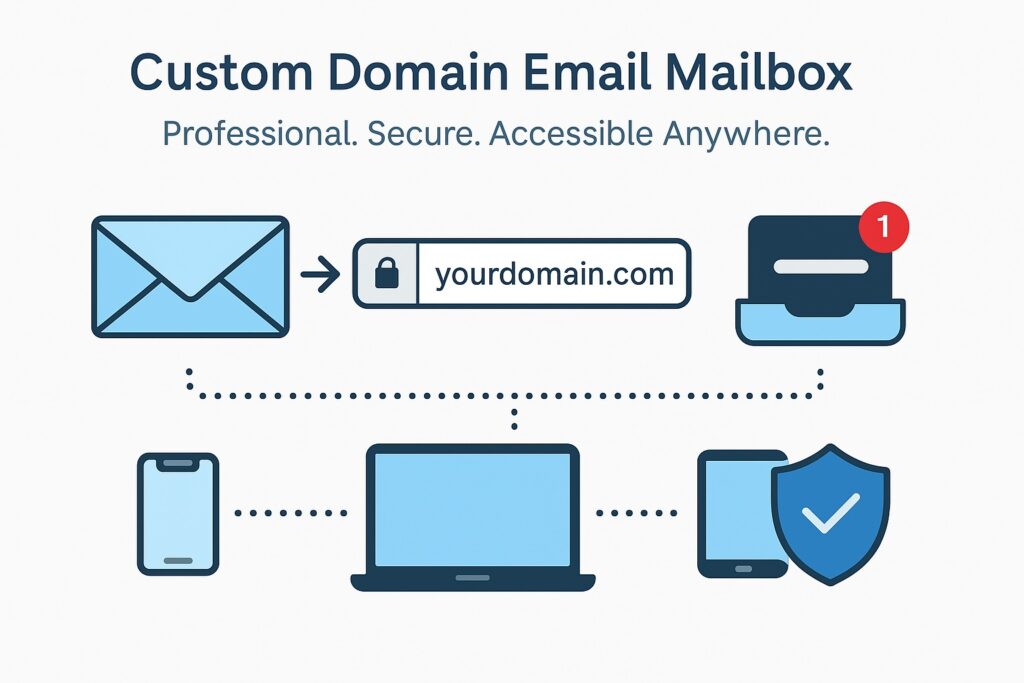
1. What is a Custom Domain Email Address / Mailbox?
A Custom Domain Email Address (or mailbox) is an email account that uses your own website’s domain name instead of a generic email provider like Gmail or Yahoo. For example, instead of john.doe@gmail.com, you would have john.doe@yourdomain.co.uk.
This mailbox lets you send and receive emails using your custom domain, giving you greater control and professionalism.
How is this different from full email hosting?
A mailbox provided with your domain offers basic email capabilities, typically accessed via webmail or configured in email clients using POP or IMAP protocols. Full email hosting services usually provide additional features like calendars, contacts, advanced spam filtering, and larger storage limits.
Why use a domain email address?
Professionalism: Using a custom domain email looks more credible and trustworthy to your clients and contacts.
Branding: Every email you send promotes your brand and reinforces your online presence.
Control: You manage your email addresses and accounts, not a third-party free provider.
Customisation: Create personalised addresses like sales@yourdomain.co.uk or info@yourdomain.co.uk tailored to your business needs.
2. How to Get a Mailbox?
If you have a parked domain using our default nameservers, you’re eligible for a custom domain mailbox.
Enter your full email address (e.g., john.doe@yourdomain.co.uk) and password to log in.
Once logged in, you can send, receive, and manage your emails from anywhere with internet access.
Using Third-Party Email Clients
We recommend using Roundcube Webmail to send and receive emails through your mailbox, however, if you are up for the technical challenge then you might prefer to use unsupported desktop or mobile email applications like Microsoft Outlook, Thunderbird, or Apple Mail, you can configure them with the following settings:
Incoming Mail Server (IMAP): microlite1.com
Port: 993 (SSL/TLS)
Incoming Mail Server (POP3): microlite1.com
Port: 995 (SSL/TLS)
Outgoing Mail Server (SMTP): Use your Internet Service Provider’s SMTP server
Username: Your full mailbox name (e.g., john-doe-yourdomain-co-uk)
Password: Your mailbox password
Note: IMAP keeps your emails synced across all devices, while POP downloads emails to your device.
Mobile Access Tips
Use the built-in mail apps on your iPhone, Android, or tablet.
Enter the same server settings as above for IMAP or POP.
For quick access without setup, simply use Roundcube webmail via your mobile browser.
4. Setting or Resetting Your Mailbox Password
How to Change Your Mailbox Password
You can easily change your mailbox password anytime through your client area:
Choose an upgrade option to a higher storage plan.
Complete the upgrade process – your storage will increase immediately or within a few minutes.
Contact support if you need assistance with upgrading.
6. Spam Protection and Security
Spam Filtering with SpamAssassin
To help keep your mailbox clean and free from unwanted junk emails, we use SpamAssassin, a powerful spam filtering system running on our mail servers.
Incoming emails are automatically scanned and scored for spam-like characteristics.
Emails identified as spam are marked or moved to a spam/junk folder, helping you focus on important messages.
Malware Scanning with Maldet
In addition to spam filtering, we employ Maldet (Malware Detect) to scan all email attachments for malware and viruses.
Suspicious or harmful attachments are flagged or blocked to protect your device and data.
How to Report Spam or Phishing Emails
If you receive a suspicious email that bypasses the filters:
Do not open attachments or click links in the email.
Forward the email to our support team at abuse@uk-cheapest.co.uk with the subject “Spam/Phishing Report.”
Delete the email from your mailbox after reporting.
7. Configuring Email Forwarding
How to Forward Emails from Your Domain Email Address
If you have a parked domain using our default nameservers, you can easily forward emails sent to your domain’s aliases to any external mailbox of your choice. This is perfect if you want emails addressed to info@yourdomain.co.uk or sales@yourdomain.co.uk to be redirected to your main mailbox or another email account.
In today’s digital world, having a website is essential – whether you’re starting a small business, launching a side project, or simply showcasing your portfolio. But many people hesitate to build a website because they think it will be expensive or complicated. The good news? Free website design is now easier than ever.
What Does “Free Website Design” Really Mean?
Free website design means you can create and launch a professional-looking website without paying upfront for design services or expensive software. Thanks to powerful online tools and AI technology, you can build your own site – no coding skills needed.
Benefits of Free Website Design Tools
Cost-effective: No fees for design or setup
Fast: Get your website live in minutes, not weeks
User-friendly: Simple drag-and-drop editors or AI assistants guide you
Customisable: Choose styles and layouts that suit your brand
Mobile-friendly: Your site will look great on phones and tablets
Control: You can update content anytime without relying on developers
Why Choose UK Cheapest’s Instant Website Builder?
If you want free website design that’s genuinely easy and reliable, UK Cheapest offers an Instant Website Builder free with every domain registration. It uses AI to create a sleek, personalised website for you in seconds – no sign-up, no payment required.
Highlights:
Create a professional, mobile-friendly website instantly
Perfect for landing pages, personal sites, or small businesses
No technical or design skills needed – AI does the heavy lifting
Free with your new domain or existing domains (no hosting required)
Easy to customise text and images anytime
Ready to Launch Your Free Website Today?
Don’t wait weeks or pay hundreds to get online. With UK Cheapest’s Instant Website Builder, you can have your free website design ready and live within minutes.
Get started now – build your free website instantly, no sign-up or payment needed!
In today’s digital world, having a website is essential for any business or personal brand. However, building a website can often seem overwhelming, costly, and time-consuming – especially if you don’t have technical or coding skills. That’s why UK Cheapest offers its Instant Website Builder free with every domain registration, giving you a powerful tool to launch a beautiful, professional website quickly and without hassle.
What is the Instant Website Builder?
The Instant Website Builder (IWB) is an intuitive, AI-powered website creation platform designed specifically for users who want to get online fast without needing any coding or design experience. When you register a domain with UK Cheapest, you get instant access to this tool inside your Client Area, enabling you to create, customise, and publish a fully responsive website in under 3 minutes.
The builder automatically generates content, selects a mobile-friendly design, and handles all technical details like hosting and SSL – so you can focus on what matters: your business and customers.
Why Choose Instant Website Builder?
No Hosting Required: Your website runs on UK Cheapest’s reliable infrastructure, so you don’t need to purchase separate hosting or manage servers.
Zero Coding Skills Needed: The builder’s AI helps you create a professional website simply by describing your business, products, and services in plain language.
Fast Setup: Launch your site in minutes, not weeks. Perfect for new businesses eager to establish an online presence quickly.
Mobile-Optimised: Your site will automatically look great on smartphones, tablets, and desktops, without any extra effort from you.
Flexible Editing: Easily update text, images, meta tags, and other key elements directly from your Client Area whenever you want.
Secure and Reliable: Add SSL certificates with a click to protect your visitors and boost SEO rankings.
Cost Effective: Included with your domain purchase – no hidden fees or costly subscriptions.
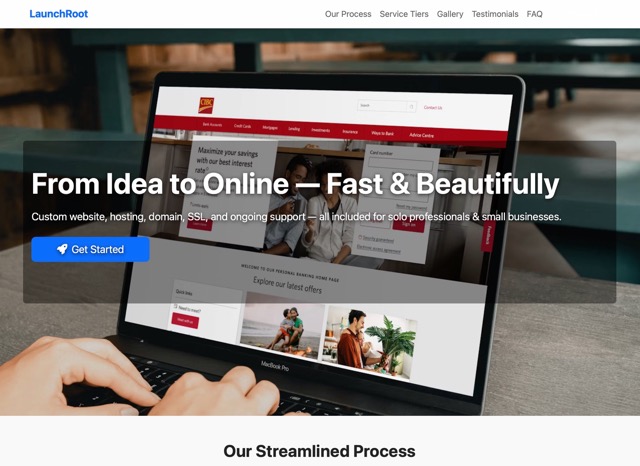
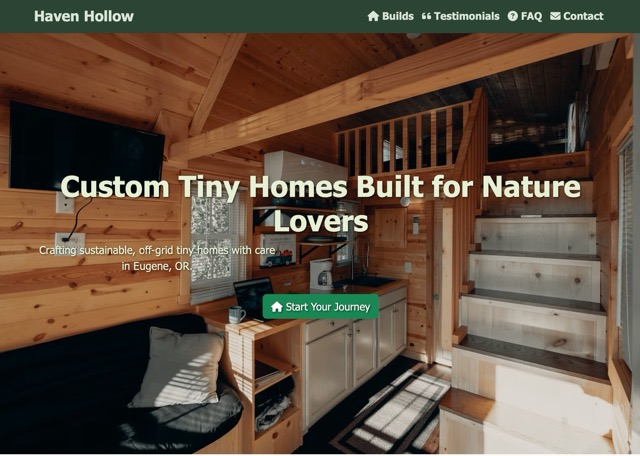
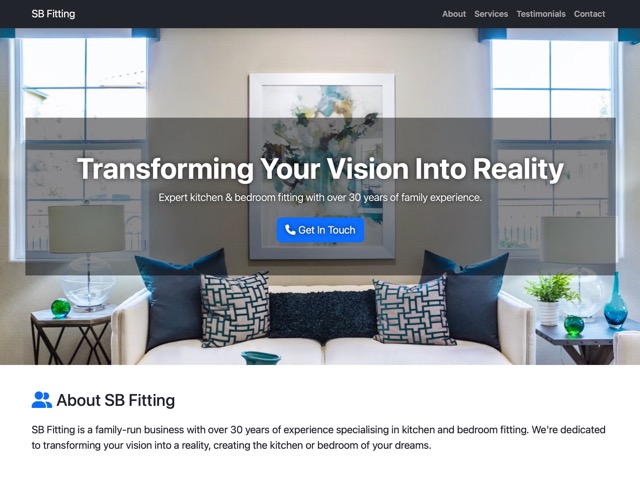
Built with Instant Website Builder – Click to View Website
Comprehensive Features Available
The Instant Website Builder isn’t just a simple template tool – it offers a suite of powerful features that let you customise your site fully and grow your online presence:
1. Business Description & Feature Selection
Start by describing your business – who you are, what you offer, pricing details, your location (for maps), preferred colors, and social media links. The builder’s AI then uses this information to create tailored website content and design.
You also choose which features you want on your site, such as:
Contact Form: Allow visitors to get in touch easily.
Gallery: Showcase photos of your products or services.
Testimonials: Build trust with customer reviews.
FAQ: Answer common questions upfront.
Map: Help visitors find your physical location.
Built with Instant Website Builder – Click to View Website
2. Background & Gallery Image Management
Visual appeal is critical for engaging visitors. Easily change your site’s background and gallery images by selecting from provided thumbnails or uploading your own. Keeping your images fresh can greatly enhance your site’s professionalism and user experience.
3. Backup & Restore
Before making major changes, create a full backup of your website. This safety net means you can experiment or update your content with confidence, knowing you can restore to a previous version at any time.
4. Secure Your Website with SSL
Security and trust go hand-in-hand online. The builder lets you quickly install an SSL certificate, encrypting visitor data and displaying the reassuring “https://” in browsers. SSL is essential for protecting your customers, improving SEO rankings, and meeting modern web standards.
5. Import Site Code
If you’ve previously exported a site or received a unique site code from UK Cheapest, you can import a full website design and content instantly. Be aware this will overwrite your existing website, so use the backup feature beforehand.
6. Edit Meta Tags & Title
Boost your search engine presence by editing meta tags like the page title, description, and keywords. These behind-the-scenes details help Google and other search engines understand your site and display it attractively in search results.
7. Edit Website Elements
For quick changes, edit key headings and paragraphs right in the Client Area. This feature lets you keep your content up-to-date without touching code or complex tools.
8. Advanced HTML Editor
For tech-savvy users, the builder offers an advanced HTML editor where you can modify your site’s full code directly. This gives you maximum control for customisations, but please back up your site before making changes to avoid accidental issues.
How to Get Started
Register a domain with UK Cheapest. You’ll get instant access to the Instant Website Builder within your Client Area.
Describe your business and select the features you want using the intuitive interface.
Customise your site’s look by updating images, colors, and text.
Secure your site with SSL with just a few clicks.
Save and publish your site – it’s live and ready for visitors!
Make backups regularly to protect your work and experiment safely.
Built with Instant Website Builder – Click to View Website
Who is the Instant Website Builder For?
This builder is perfect for entrepreneurs, freelancers, local businesses, or anyone who needs a professional web presence quickly without the complexity of traditional website development. It’s especially ideal for:
Startups and small businesses launching their first website.
Individuals who want a portfolio, blog, or personal site.
Existing business owners needing fast updates or redesigns.
Anyone looking to save on hosting and developer costs.
Why UK Cheapest?
With UK Cheapest, you get more than just a domain name. Our all-in-one Instant Website Builder combined with domain registration provides a seamless way to get online – no need to juggle multiple providers or tech skills. Plus, our responsive customer support is here to help every step of the way.
Built with Instant Website Builder – Click to View Website
Start Building Your Website Today
Don’t wait weeks or spend thousands on building your website. Register your domain with UK Cheapest and enjoy the convenience of the Instant Website Builder. Your professional website is just minutes away!
Ready to get started?
If you are an existing client, simply log in to your Client Area, navigate to My Domains, select your domain, and click on Instant Website Builder to begin building your site. New to UK Cheapest? No problem! Register a domain name today and get instant access to this free, easy-to-use website builder – no hosting required.